Get super smooth walls in no time with DIY skimming
DIY skimming is one of the most effective ways to achieve smooth, professional-looking walls without paying for a plasterer. Many people live with uneven or damaged walls because they assume fixing them is too expensive or complicated, but learning how to skim a wall yourself is a completely achievable DIY project.
Before we get into the detail of the DIY option for skimming walls, I should note that if you aren’t a keen DIYer, don’t have good attention to detail or enjoy laborious tasks, then DIY wall skimming might not be the project for you, especially if you’re new to DIY plastering, but if you fall into all of these categories, then I have good news – you can totally fix up your dodgy or damaged walls yourself, saving a packet and benefitting from a huge sense of achievement at the same time.

Start here: DIY skimming basics
If you are new to DIY skimming, these are the best places to start. They cover the core techniques you need to achieve smooth walls and ceilings, even if you have never tried plastering before.
What is DIY skimming?
Skimming, also known as applying a skim coat, is the process of spreading thin layers of finishing plaster over a wall to create a smooth surface ready for decorating. Skim coating walls is one of the most effective ways to improve the finish of older or damaged surfaces.
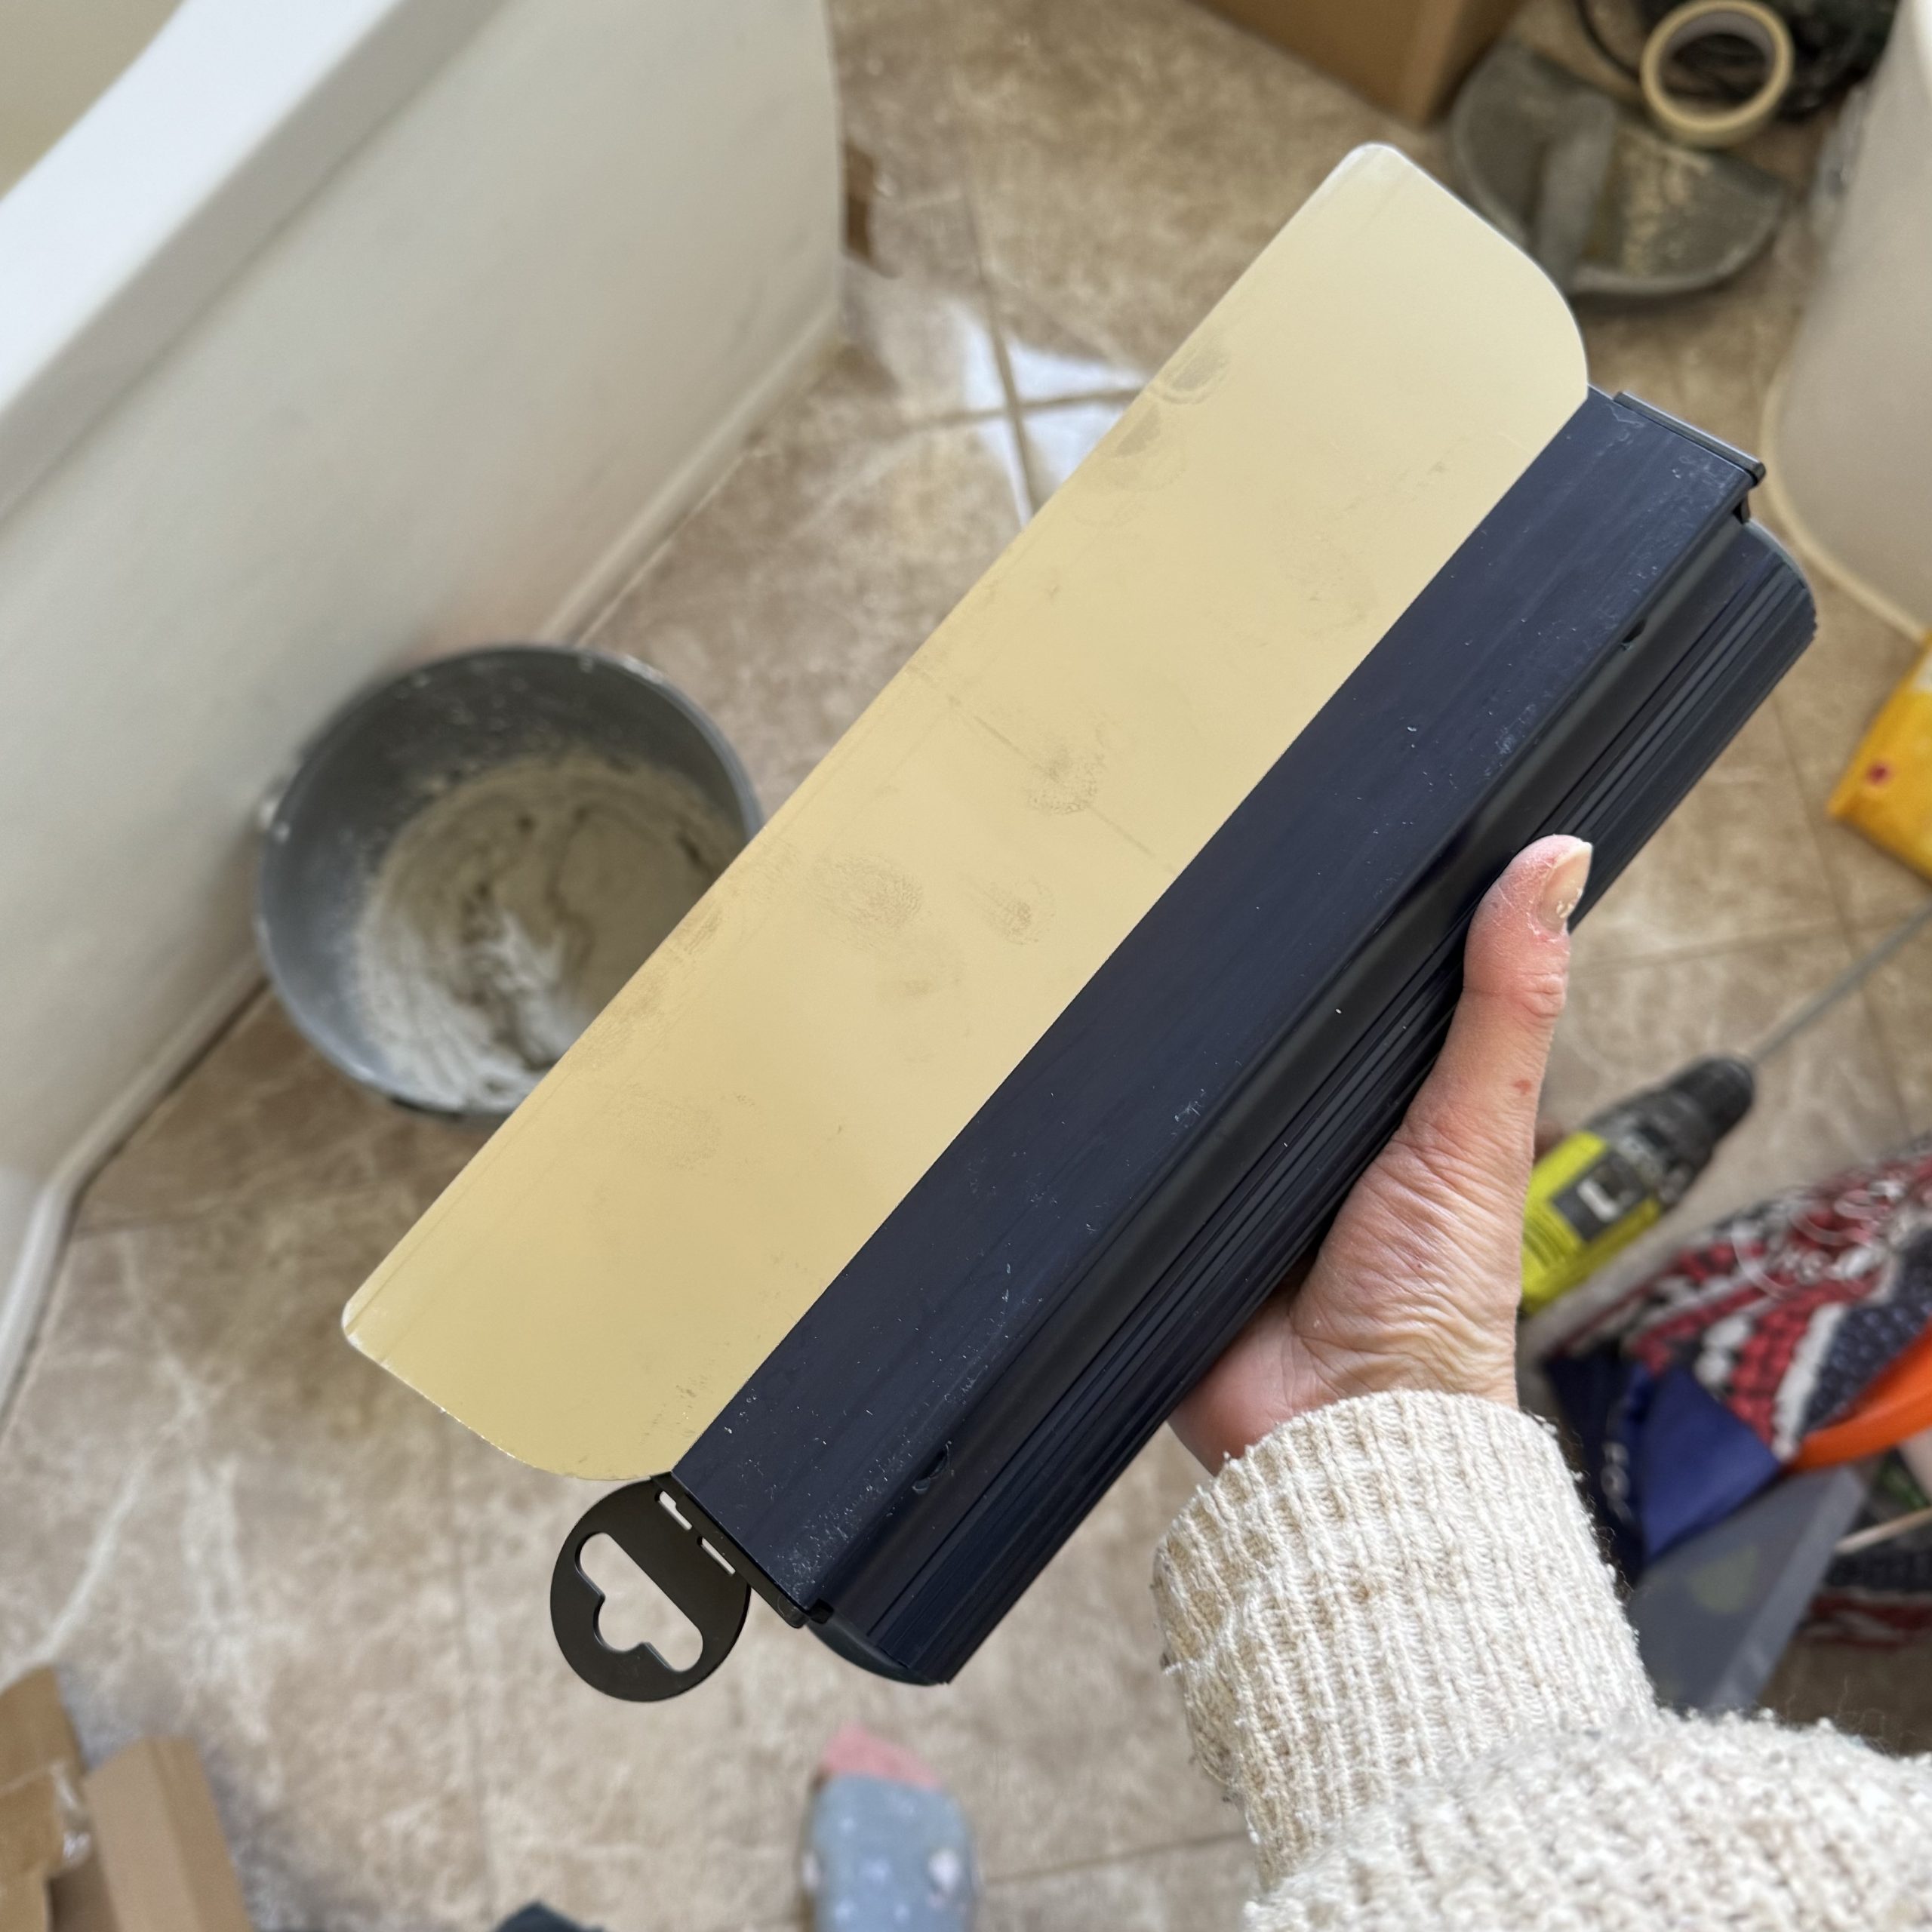
DIY wall skimming is usually done to old walls or over plasterboard. Professional plasterers often use a hawk board and trowel to skim a wall but I will show you in a minute the tools I find easier to use as a DIYer.

DIY skimming FAQs
If you’re planning to learn how to skim a wall and are keen to have a go at DIY plastering then the below FAQs might well be useful, have a read before you start.

Can you use ready-mixed plaster for DIY skimming?
Ready-mixed plaster is definitely more expensive than a bag or dry plaster mix that you have to knock up yourself, but for DIYers, especially those skimming a smaller area, ready-mixed plaster can be a real help. It is quick and easy to use, I actually recommend diluting it a little to get the best creamy consistency, but that’s all you have to do before getting stuck in, which definitely saves you time and mess on your DIY wall skimming project compared to making it from scratch.
Should I prime before DIY skimming?
Yes, priming is required before DIY wall skimming and is super simple to do with diluted PVA or a specialist bonding agent like Blue Grit (available from DIY stores). If using PVA, then you should apply two coats; the first should dry (can take hours) whereas the second coat should only be left to go tacky, which happens after approx 30 minutes. Shake up 1 part PVA with three parts water for a guaranteed lump-free solution ready for priming before you skim. If you have any PVA left, keep it in the jar and label it ready for next time. Oh, there will definitely be a next time, as once you start, you’ll want to skim everywhere!


Can you skim over a damaged wall?
You’ll need to repair any damage before applying a DIY skim coat, but using a putty knife and some filler for minor repairs is easy. If you have more substantial repairs to make to plasterboard, then pop over to read my top tips here… Self-adhesive mesh tape is super helpful for repairing holes and you can also cut out the shape in another piece of plasterboard drywall) and insert it into the hole you are filling.
These step-by-step tutorials will guide you through the process of skimming walls, ceilings and plasterboard, helping you achieve a smooth, professional finish which is why they are some of my favourite budget DIYs.
DIY Skimming posts
Explore all DIY skimming tutorials


Recommended products

Why DIY skimming is worth learning…
DIY skimming might seem intimidating at first, but with the right preparation, tools and approach, it is a skill that can completely transform your home while saving you a significant amount of money. The above guides are designed to help you build confidence and achieve a smooth, professional finish step by step. Let me know if you try them and find them helpful. I really hope you do!