The only guide you need for plaster wall repairs. Discover how to repair cracks in plaster today.
Cracks in plaster walls are a common issue for many homes, especially older ones. Over time, structural movement, temperature changes, and other external factors can cause plaster cracks of different sizes to appear. Whether you’re dealing with hairline cracks, larger cracks, or even structural cracks, the best approach is to use the right tools and techniques to ensure a lasting repair. Don’t stress; here are my top tips for how to repair cracks in plaster walls successfully.
Before you start to repair cracks in plaster – check the damage

Before starting any repair work, you need to decide what type of cracks you’re dealing with. Hairline cracks, small cracks, and larger cracks all require different approaches. Hairline and minor cracks often occur when you have temperature changes or slight structural movement, while larger cracks could be a sign of more serious issues, eg. water damage or structural problems. For severe structural cracks, stop reading this repair guide now and find an expert to help you!
You will need…
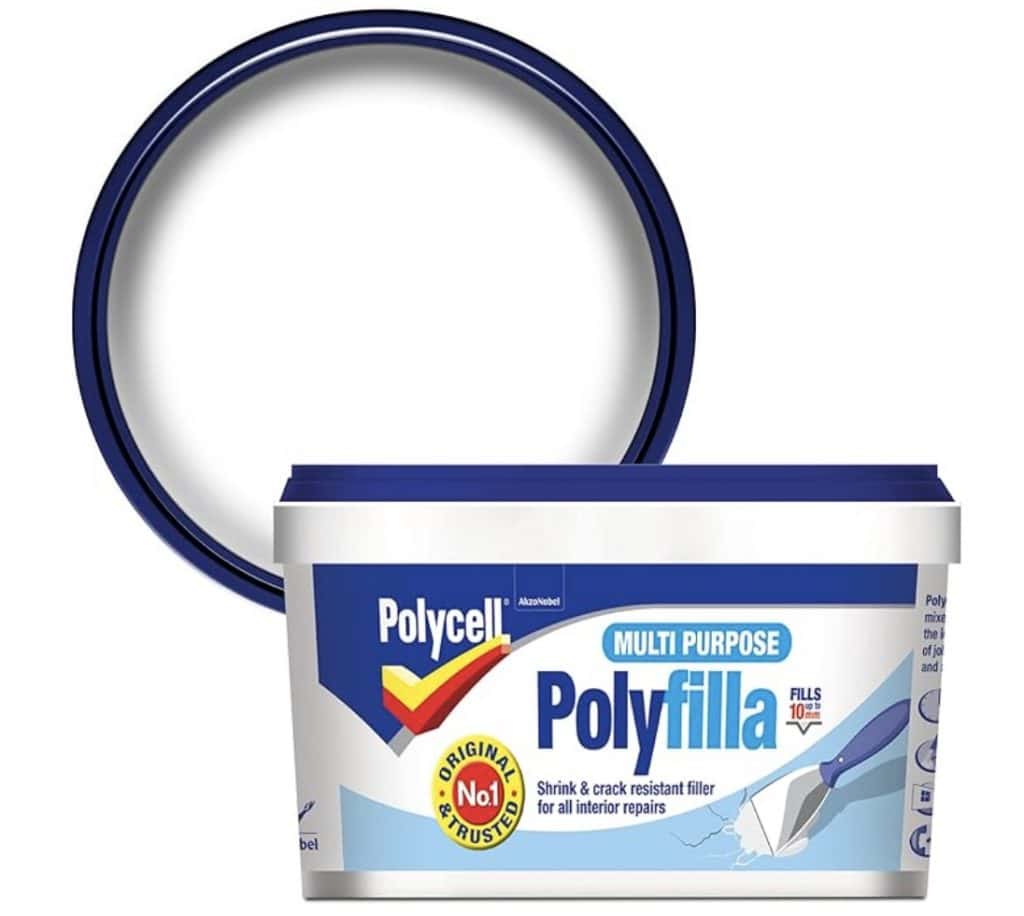
These are the typical tools you’ll need for the job. To save time and effort, you can buy them from my Amazon Storefront here
- Joint compound or drywall compound
- Putty knife and filling blade
- Utility knife (or Stanley knife)
- Paper tape or mesh tape
- Fine-grit sandpaper
- Damp cloth or sponge
- Paintbrush
How to repair cracks in plaster walls – a Step-by-Step Guide
Prep that crack

Before reaching for the filler to repair cracks in plaster, you need to clean the crack in the wall. Use a utility knife or Stanley knife to make the crack slightly wider. As well as helping remove loose debris, dust, and any crumbling material around the edges of the crack, it makes a larger area so you can get more filler in. While you are there, check for loose plaster that could risk the results of the repair job if it starts to fall out around your lovely new fix. After prepping is complete, brush away any dust / debris and follow up with a wipe of a damp cloth or sponge as this helps the joint compound adhere to the plaster surface.
Time for a base layer

When it comes to hairline cracks and the like, a single layer of joint compound/filler should be fine. Apply using a putty knife, working the filler right into the crack. Smooth it out evenly across the surrounding wall to blend the repair area in.
For deeper or larger cracks, apply a layer of joint compound and then embed a strip of mesh repair tape or drywall tape over the crack. This will reinforce the repair and prevent future cracking. Top Tip: Smooth the edges of the tape with a thin layer of joint compound or filler using a putty knife or spreader to hide the joins and create a flat surface with the wall.
Layering the joint compound to repair cracks in plaster
After applying the first layer of joint compound, it’s a good idea to allow plenty of time for it to dry as you don’t want to start faffing with it before it’s set and ruin the repair. This could take several hours, depending on the size of the crack and how warm your room is. Once dry, take a good look at the repaired area. Can you still see the crack? Or does the surface feel uneven? If so, apply a second coat of joint compound, feathering it out further onto the surrounding wall for a professional look.
Grab the sandpaper or sander
Shop sanders & sandpaper here…

Once the second layer of filler / joint compound has dried, it’s time for sanding. Use fine-grit sandpaper to smooth out the surface. Be careful not to over-sand, as this can damage the surrounding wall or cause the compound to peel away, meaning you are back where you started! Wipe away any dust from sanding with a damp sponge or cloth or soft brush.
The final layer
For larger cracks or deep cracks, you might need a final coat of joint compound. You’ll need to look at the repair area and make a judgement call on this as there’s no hard and fast rule. If you can still see an indent of there’s obvious signs of the repair, then get smoothing with a final layer. Follow the same steps as you did about re smoothing the edges into the rest of the wall and flattening and allowing plenty of drying time.
The finishing touches to fully repair cracks in plaster

Once the final sanding step is complete and the surface is smooth, dry and dust-free, it’s time to repaint. Use a paintbrush or roller and carefully blend the repaired cracks with the rest of the wall if you are just touching up the paintwork. If the wall was painted a long time ago, you might decide to re-paint the whole wall to prevent the repair area from standing out as the only part with fresh new paint! These are my favourite bargain paintbrushes at the moment
Larger cracks
If you’re dealing with larger cracks, especially in older houses, it may indicate loose plaster or underlying structural issues. In such cases, additional steps are required and you really need to get an expert out to assess the area before continuing.
Reinforcement with Mesh Tape

as we saw with repairing large holes in plasterboard, large cracks may need extra reinforcement. After cleaning the crack, apply mesh tape or drywall tape to reinforce the area before applying the joint compound. This helps prevent future cracking caused by structural movement or year-round humidity changes.
What should I do about structural cracks in plaster?
If you suspect structural problems like water damage or foundational shifts could be the root cause of your issues, then you shouldn’t focus on a repair, but instead should look for an expert to help. Structural movement, moisture penetration, and construction issues can all lead to recurring cracks. For structural cracks, you need to get an expert in asap who can complete a proper assessment and put together an action plan. You should also consult your home insurers and let them know what’s happening in case they have specific procedures that they need you to follow to be covered.
How can I prevent further cracks in my plaster?
Repairing the plaster cracks is a positive step but it’s not the only thing you need to do as you need to find the causes and prevent future cracks from forming. Areas you’ll need to consider are dampness, your home’s humidity level and whether there’s any loose plaster anywhere else.
Should I be worried if I find cracks in my plaster?
Cracks in plaster walls can vary in severity, from hairline cracks which can be caused by normal wear and tear to larger cracks indicating structural issues. With years of experience in DIY and home repairs, I’ve found that the best crack repair procedure involves understanding the cause of the cracks in combination with using the best techniques, and having the right tools to hand. Whether you’re fixing minor cracks in your living room or tackling ceiling cracks in an old house (don’t forget to check out my post on how to smooth a textured ceiling), these steps will guide you through the process of achieving a smooth finish with (hopefully) the least amount of stress.
Where next?
Be sure to visit my DIY skimming page for lots more info and all my DIY plastering-related posts.
Shop the products from this post.


