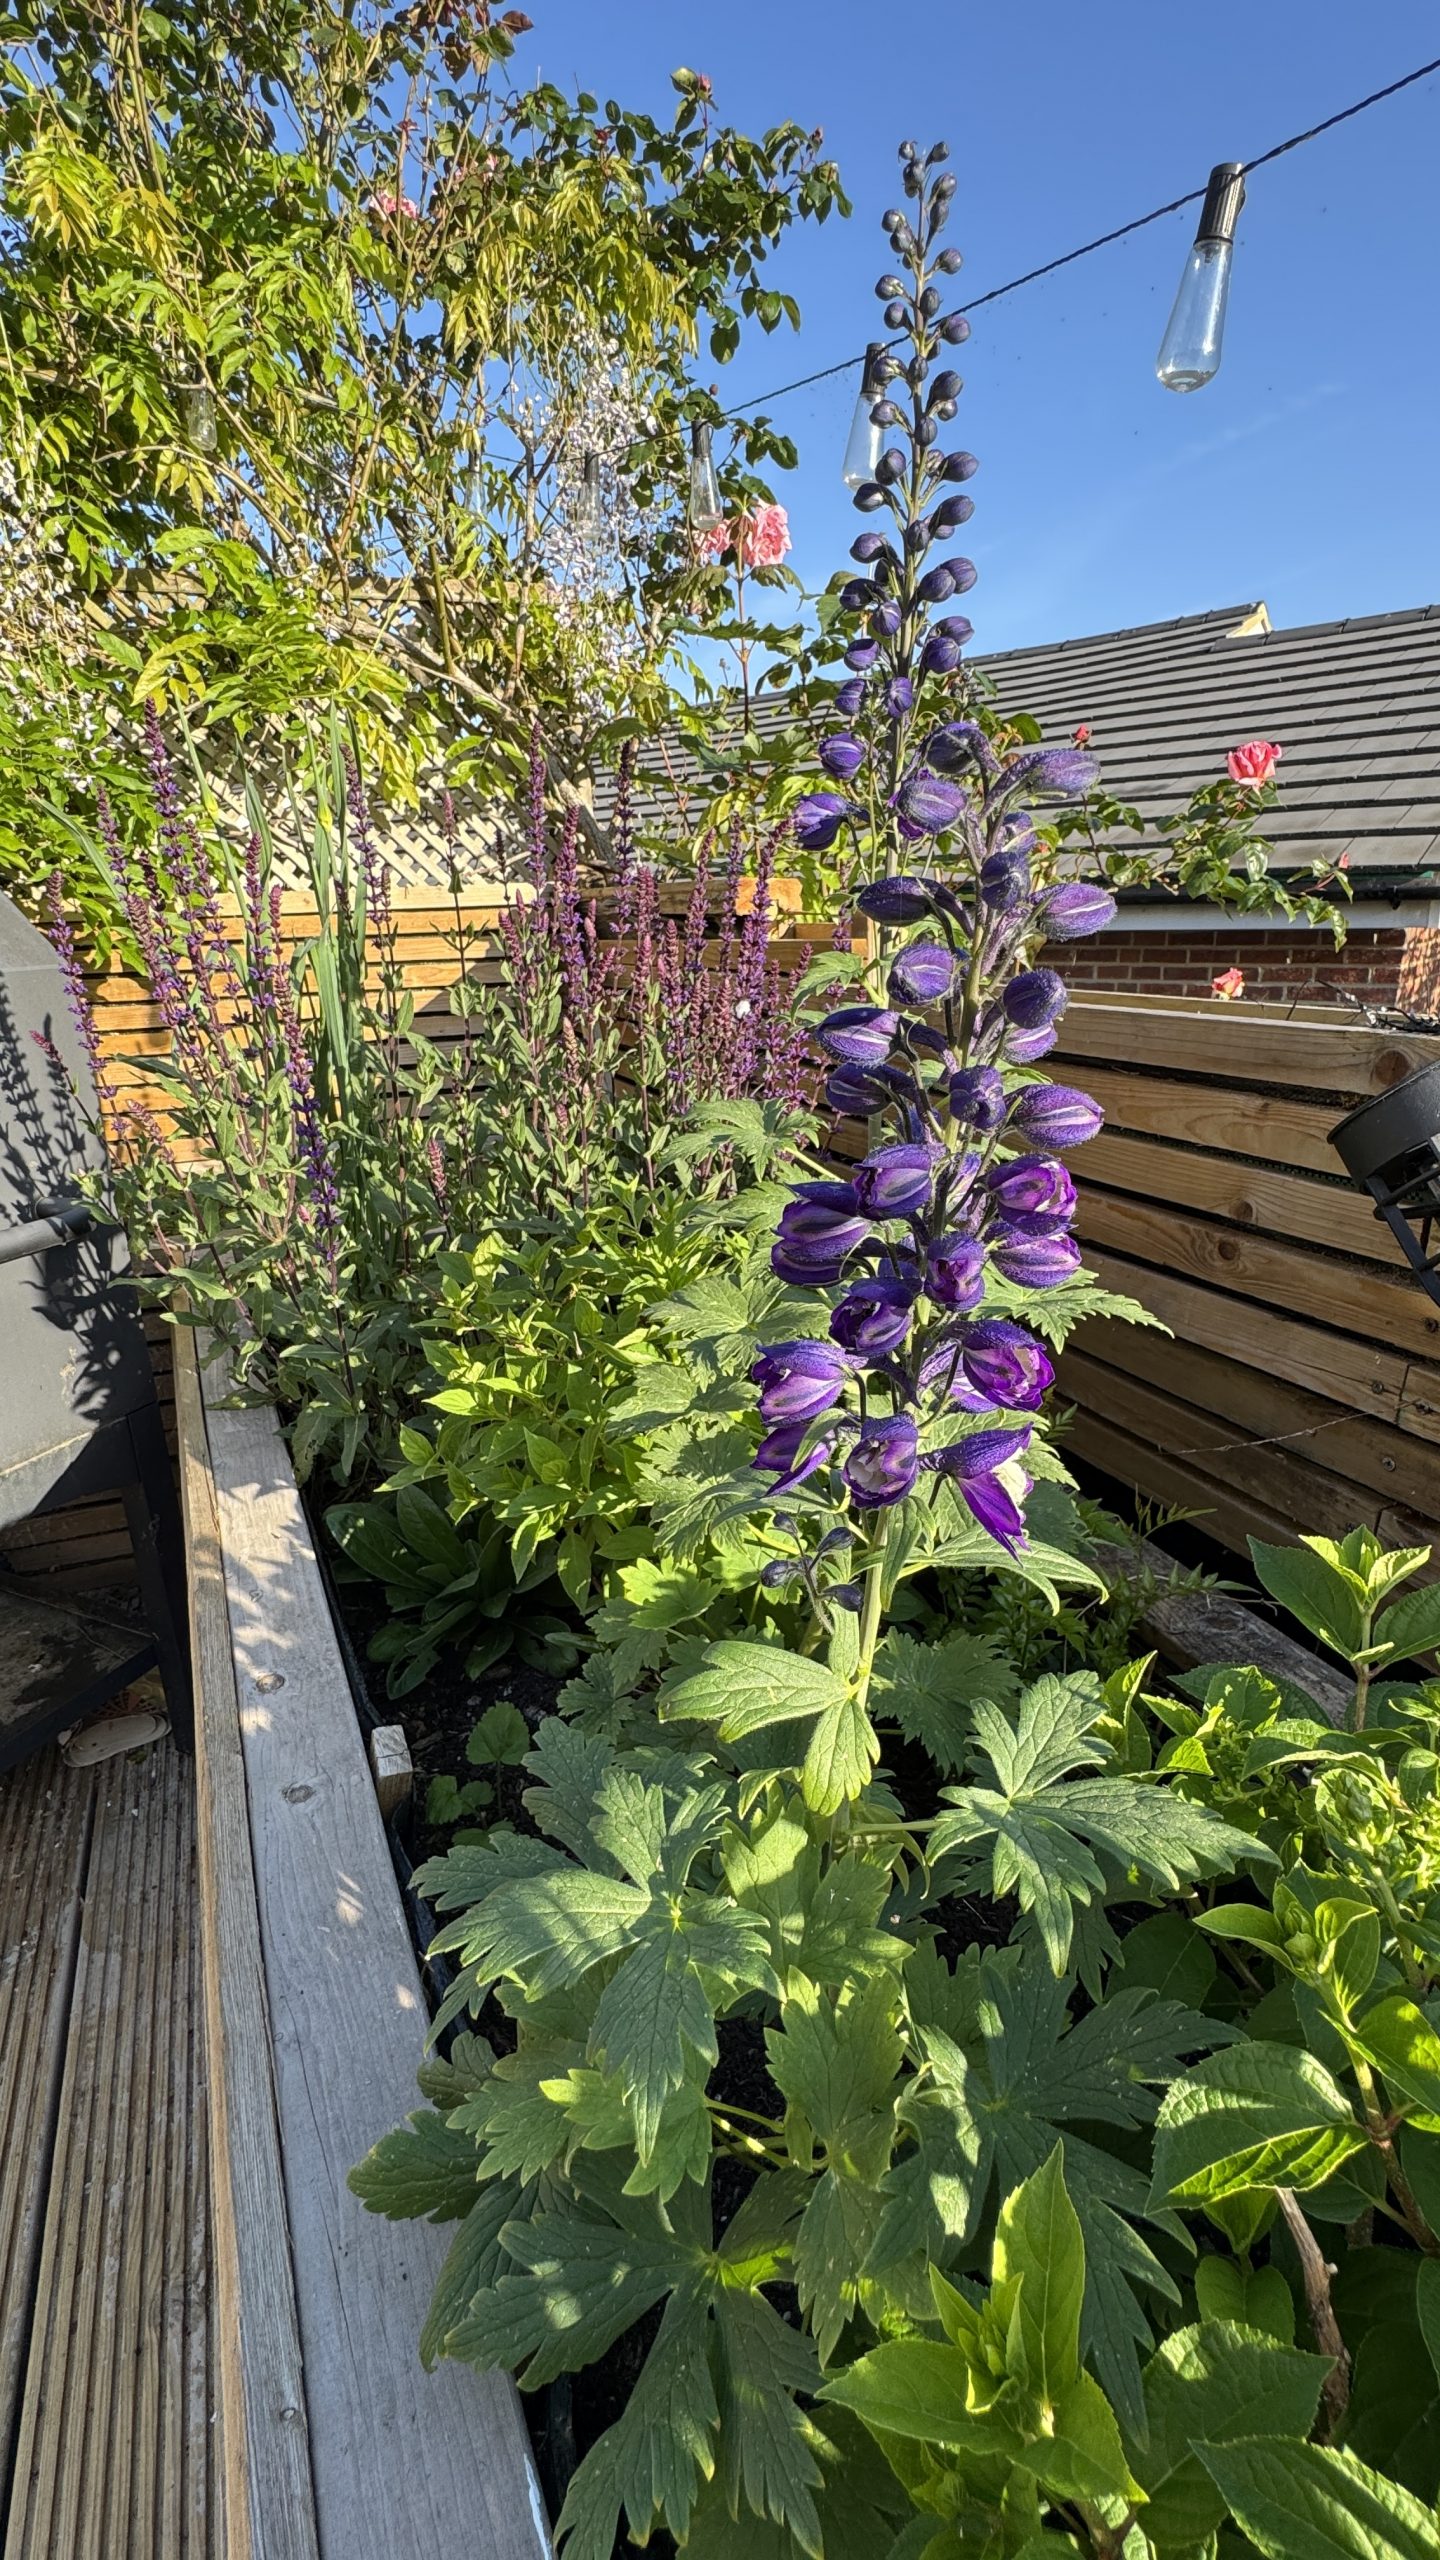
I love a horizontal slat fence. I love the look they create and the best bit is they are so cost-effective – handy when you have a large area to cover as I did on this DIY garden project. As you might have guessed from the above picture, this project isn’t actually finished yet as I’m also building raised planters and need to source plants and furniture, but I shared the slat fences on my Instagram and had so many requests for info I thought I’d pop a quick post up.
This blog post looks at installing a horizontal slat privacy fence using your existing fence posts, making this a DIY project that even novices can tackle as it won’t require digging lots of deep holes or concreting any posts in. This tutorial will guide you through the steps to build a horizontal slat fence using roofing battens, small wood screws, and a drill with screwdriver bit, instead of a nail gun, just because that’s the way that I did it.
I spent a while deciding on whether to buy a heavy-duty nail gun for this project, but as they range from £70 – £100 I decided that I just couldn’t justify it so used my trusty drill and hundreds of small wood screws. Whilst this made a lot of sense budget-wise, it was definitely a lot more effort. I would 100% use a nail gun if you have one, and I’d recommend buying one if you have room in the budget.
For a DIY horizontal slat fence you will need:


Click the above image to shop any of the items.
- Existing fence posts
- String line (or piece of string and two screws_
- Tape measure and pencil
- Spirit level
- Saw
- Sand paper
- Nail gun or drill with screwdriver bit if you don’t have a nail gun.
- Battens – I used these ones
- Nails or small wood screws (Self-tapping, for outdoor use)
- Wood for additional posts and packing if you need to make adjustments to make your fence line.
- Weed membrane
- Staple gun or tacks (for the membrane)
1. Assess Your Existing Fence

Before starting your horizontal slat fence DIY, evaluate the existing fence posts as these are what you’ll be securing into. If the fence isn’t yours, then be sure to check with your neighbour that they are cool with you using them. Make sure the posts are still solid and level. The posts of an existing fence are crucial as they will support the new horizontal slats.
If the posts have shifted or show signs of rot, you might need to dig new post holes and set fresh posts, but for the purposes of this guide, we’ll assume that they are fine. Check how far apart the posts are, you might need to add some supports in the middle if they are quite far apart and you need to install some shorter sections of slats.
It’s important to check that your current fences are in a straight line and plumb. This might sound silly, but ‘normal’ fence panels are standard sizes and installed end to end which can create quite a variation from a straight line over a distance of even three or four panels if the property line curves or is staggered. A string line is an easy way to check this.
To make a string line, fix a screw into your end post and tie a piece of string around it. Extend the string along the fence line to the post at the other end and fix into another screw at the same height. Check if there is a gap between the string and each of the fence posts in between. If there is, you’ll need to pack this gap with a board or another post, screwed into the existing post to make sure that you are going to bend the roofing battens when you fix them into each post as this will create a bendy, odd-looking horizontal fence!
2. Plan Your Fence Design

Decide on the height of the fence and the spacing between horizontal slats. Horizontal slat fences are versatile and offer customization options in terms of spacing and board widths. Make sure the tops of the posts are all level for a clean finish
My DIY horizontal slat fences were covering three sides of an existing deck and had a balustrade on one side to use as the top line, this dictated the height for the remaining two sides.
3. Attach weed membrane

Without weed membrane, DIY horizontal slat fencing can be a semi-private fencing option as you can see through the gaps; this is especially true if you choose a wide spacer. Weed membrane also helps prevent tendrils from plants behind the DIY slat fence from growing through and damaging your latest project.

I was keen to add the membrane because there was a bit of a mix-mash of posts, trellis and balustrades behind various sections of the slatted fence, which would have been slightly visible through the gaps and would’ve brought the aesthetic appeal down (especially the green bits of trellis right in the corner!). The only disadvantages of adding membrane are the cost (although I found some great value rolls on Amazon) and the reduction in light coming through the panels, this wasn’t an issue for us though as the fencing was going around the perimeter of a large open deck area that gets lots of sun.
Attaching the weed membrane was easy, I just chose one of the required width to save on cutting and unrolled it before holding it up to the fence to check it would fit. Once I was happy, I stapled the corner into the first post and along the top line before pulling it taught and stapling down the side and down the length of each post. (Before anyone asks why I didn’t use the same gun for the slats, it’s unfortunately not heavy-duty enough and can only accommodate nails of up to 1.8cm so not enough to go through a batten and into the post behind. It was fine for stapling membrane on though).
At this stage, it’s a good idea to mark where the posts are behind the weed membrane as it’s easy to forget or not be able to see the staples clearly when the time comes to attach the battens.
4. Attach the top roofing batten

Once the posts and any packing are installed and the weed membrane is on, it’s time to attach the horizontal slats. I read arguments for and against both starting at the top or the bottom. I decided that because I was only doing a half-wall (the top half) as the bottom half would be DIY planters, that it would make more sense to start at the top and make sure it was perfect! These battens should be attached across the posts equally spaced using your chosen spacers. The first one is the most important as if you don’t get that completely level, your whole fence will be off and will have to be redone.
If you aren’t using a nail gun, pre-drill pilot holes using a wood bit to avoid splitting the wood when driving in screws. Secure the slats with small wood screws using a drill with a screwdriver bit.
Use a spirit level to check that the first slat is completely level. If you are attaching a long slat, it’s helpful if you have a second pair of hands and can each take one end. I didn’t have any helpers, and was using 4.2m battens (!) so decided that I’d be best off starting by attaching the middle of the batten and then moving to one and then the other. It was much harder work doing it on your own, but was totally doable as the battens aren’t heavy; they are just a bit wobbly when you’re holding them on your own. I screwed the batten into four posts and stood back to check it was level, and that you couldn’t see the tops of the decking posts that the balustrade was fixed into.
Continue down the fence, adding slats separated by your spacers each time and securing by screws or nails. Stop when you’ve covered the desired height.
What size gap between horizontal slats?

Initially, I thought I could use the shorter side of a batten as the spacer (19mm) but after I put the first slats up with this gap it was obviously too big (see image above) so I had to go back to the drawing board and found some 9mm thick pieces of mdf from my recent DIY built-in wardrobes project which turned out to be perfect. I would say anything around 1cm is an ideal gap. Be sure to leave space between the slats to allow for expansion and contraction due to weather changes.
Tip: Stagger the joins

If your new fence length is longer than the longest battens then you’ll need to join multiple battens. Leave a small gap between the adjoining ends to allow for swelling and movement. To make the joins less obvious, you can stagger the posts on which they meet rather than joining them all on the same post and getting a very visible vertical line.
For added strength and a finished look, you can install a top rail and a bottom rail along the fence panel system. I didn’t do this. I was happy with the top slat being the first one I attached and I didn’t need a bottom rail as I was building raised planters under the slatted fence down to the floor.
After installing the slats take a step back and assess your work. Check for any placement issues, ensuring all slats are spaced evenly and the structure is solid.
A horizontal slat fence is such a good way to elevate your outdoor space and on a budget. Not only will it provide privacy, but it will create an attractive feature and backdrop to your choice of plants and garden furniture.
Here’s a reminder of the link to the tools in case you want to shop them now you know how to build a DIY slat panel fence!